

Making a Spec AI Car Commercial with Veo in Google Flow
Exploring Photorealism Through AI Video
For my first AI Veo project, I set out to create a car commercial that tested the limits of AI photorealism using action shots of a moving vehicle. I chose the Mazda CX-5 because I own one and have been a fan of the car ever since I bought it. Important note, this video unofficial and unaffiliated with Mazda.To kick off the project, I wrote a script with rough sketches of each shot, assigning a specific time-code to indicate when that moment should appear. The commercial needed to be exactly 30 seconds, so the timing of each shot needed to align with the voice-over to avoid wasting AI credits.
Creating the Environment in Whisk
I already knew the neighborhood I wanted the Mazda to drive through. I’ve driven this tree-lined suburban area countless times and always thought its aesthetics would look great in a commercial. Using Google Labs Whisk, I built the reference scenes needed for the project. I took my own photos of the neighborhood and processed them in Adobe Lightroom to remove unnecessary objects that could introduce AI hallucinations.
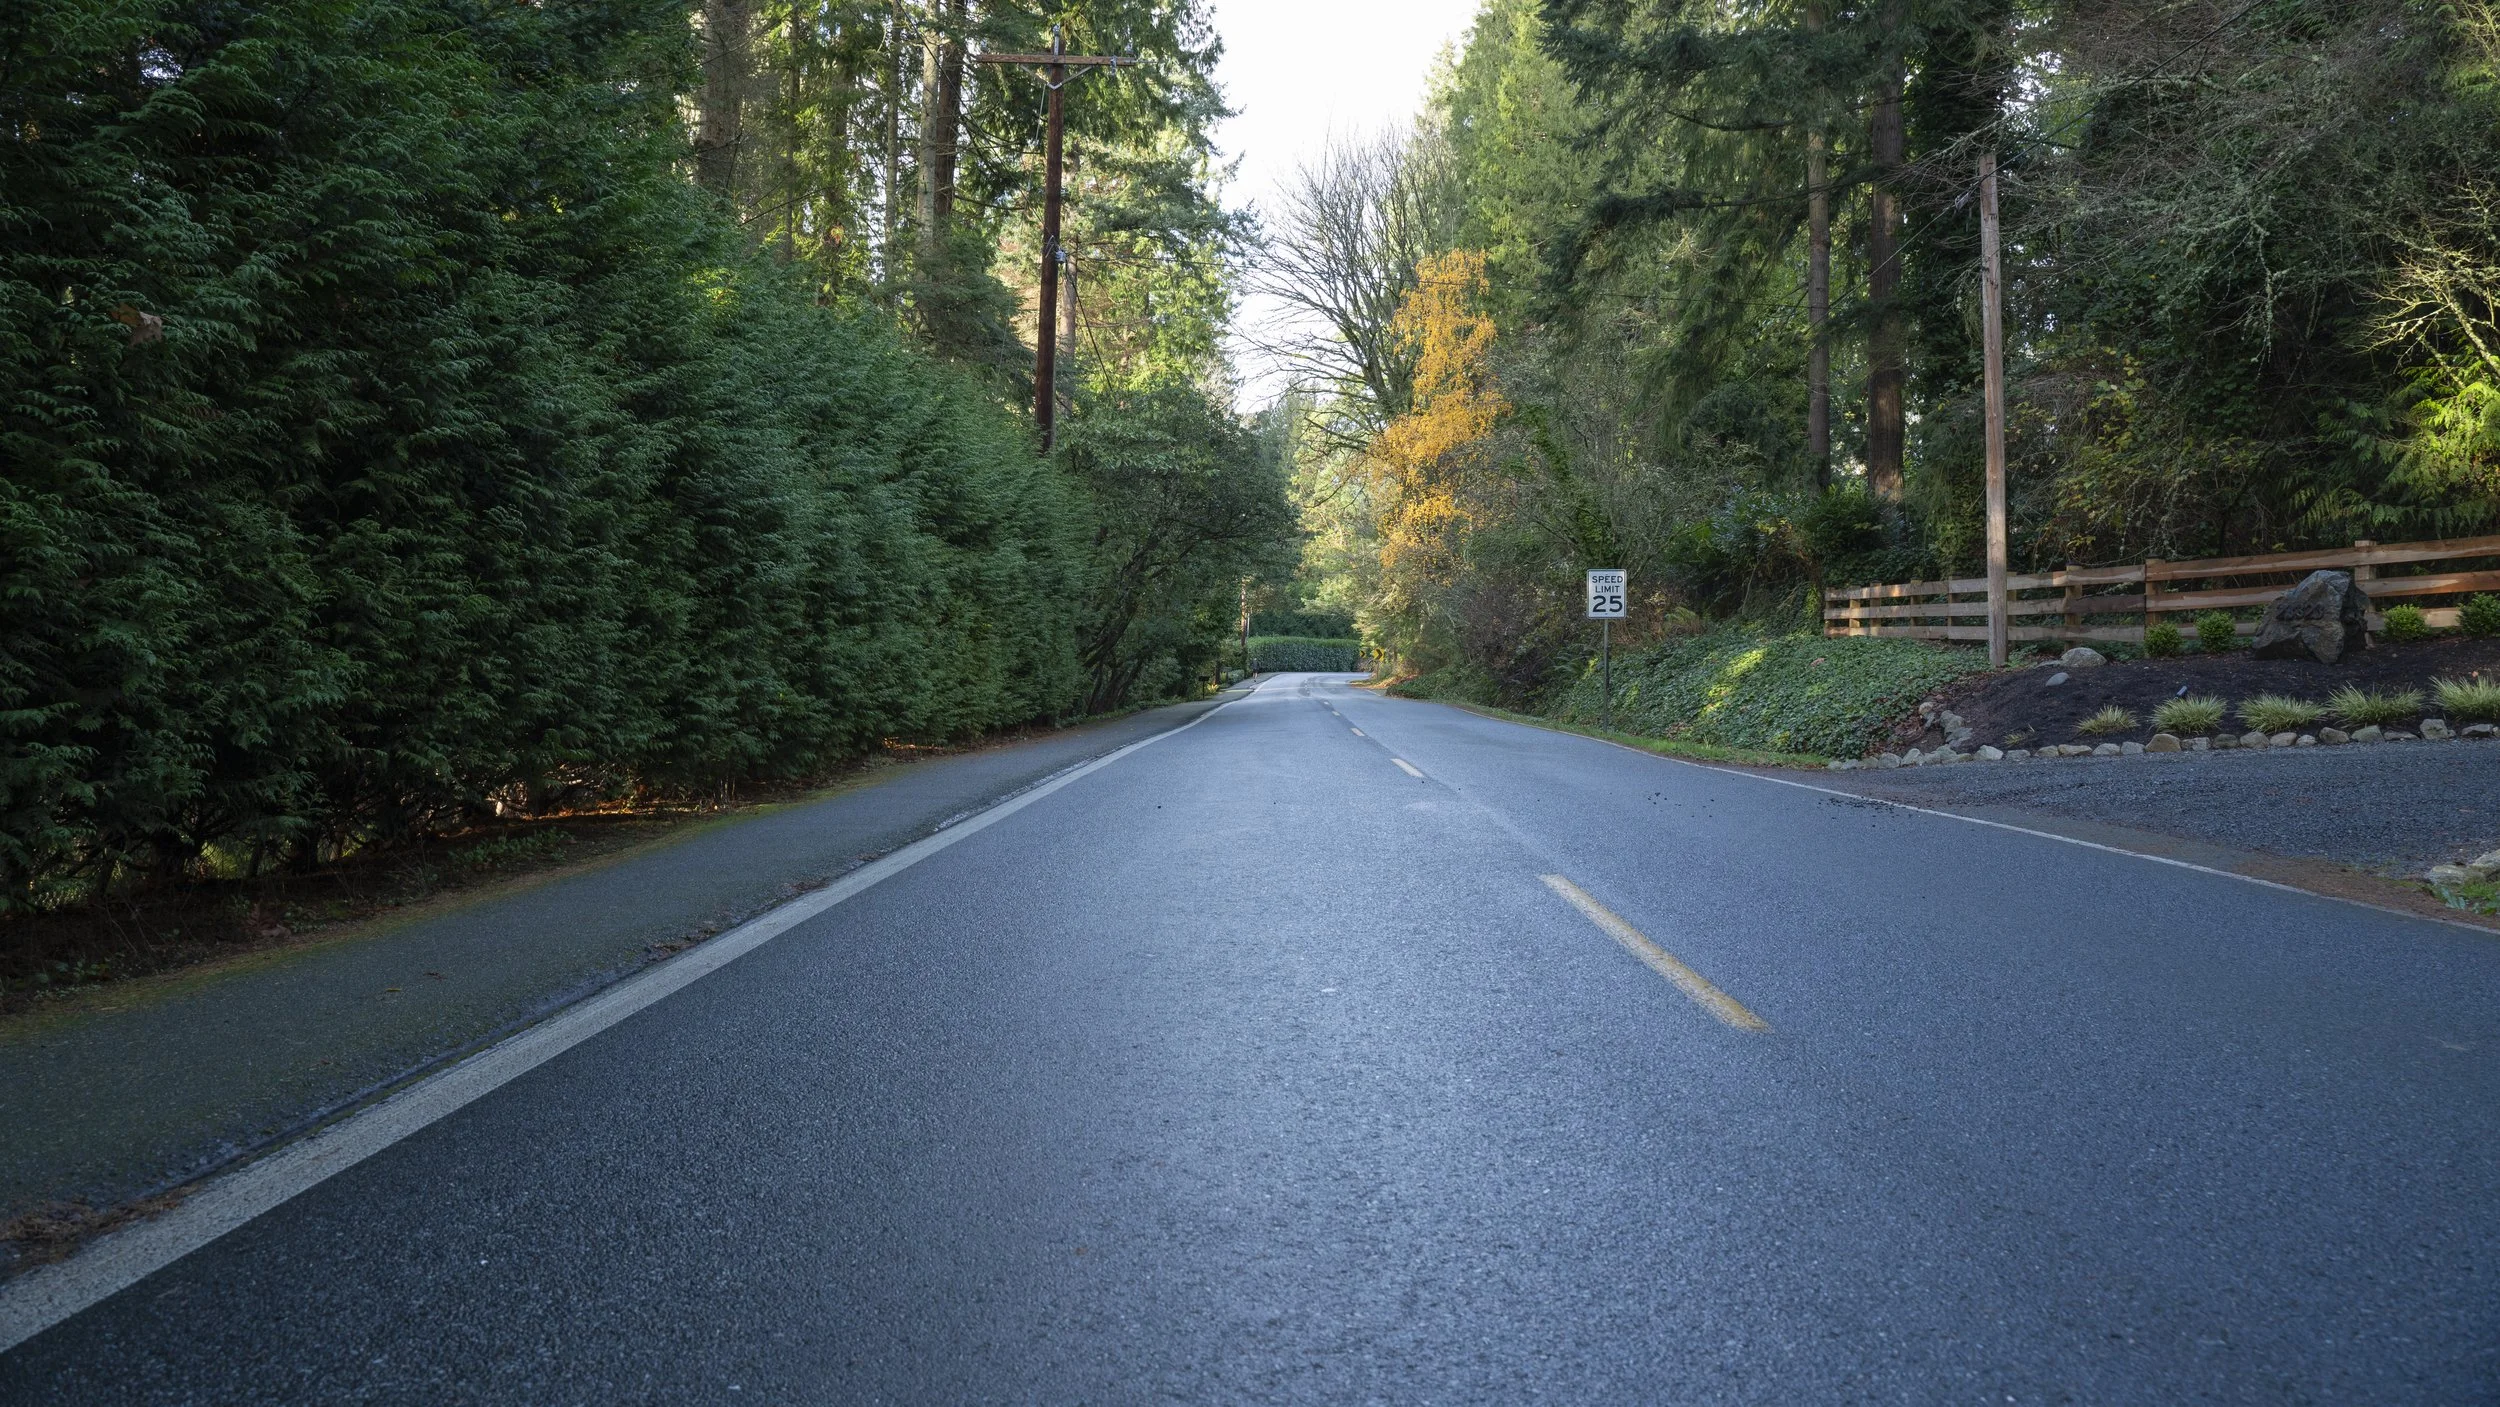
Reference photo taken to be used to build scenes in Google Whisk.
Using Press Images to Lock the Car’s Look
To maintain consistency across every generated shot, I needed a full 360-degree view of the Mazda. I wanted the commercial to feature the upcoming 2026 Mazda CX-5, and since this project wasn’t for commercial use, I utilized Mazda’s official press-release images, which showcase the car from every angle in high-resolution including the interior and exterior. Using these images, I built subject references in Google Whisk with the precise-reference toggle enabled, ensuring that every angle of the car generated accurately and consistently. I selected the appropriate car angle depending on the shot the prompt called for based on the storyboard that I had created.
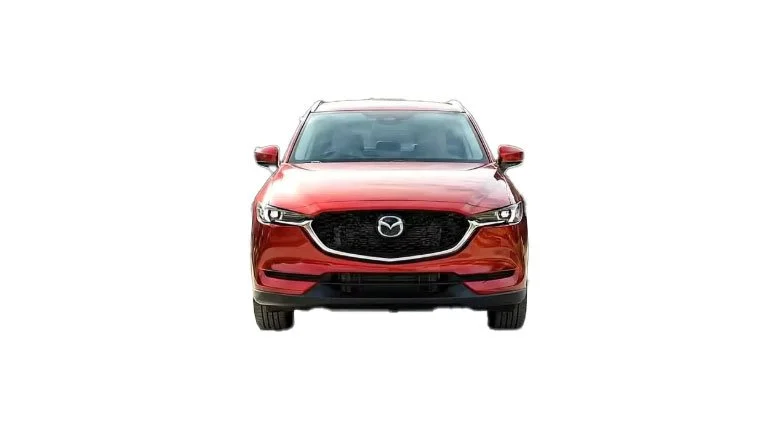
Front view of Mazda without license plate. Generated using Google Whisk.
JSON Prompts and Workflow
With my reference images ready, I used Google Flow with Veo 3.1 and JSON prompts to generate individual clips. Most of the project used the Ingredients-to-Video prompting method, while Frames-to-Video helped with a few specific shots of the car driving toward the camera. JSON prompting kept the overall style consistent between clips and allowed me to easily add camera movements, action notes, and sequencing details. ChatGPT 5.1 also helped immensely with writing, refining, and expanding these JSON prompts as the project evolved.
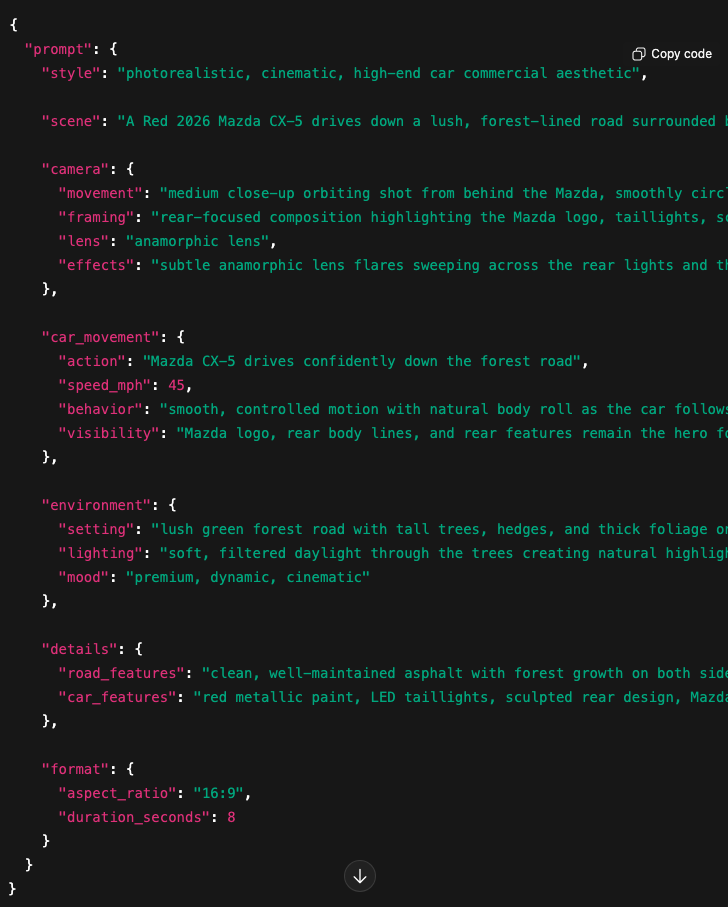
JSON prompt for shot number eight in the commercial where we can see the back of the car driving down the road.
Managing Generations Efficiently
It took 48 prompts and 60 total generations to produce the nine eight-second clips used in the commercial. Google Flow can generate up to four clips per prompt, but to conserve credits I stuck with a single generation for most renders using Veo 3.1 – Fast, which costs 20 credits per run. With a Google AI Pro subscription ($19.99/month), you get 1,000 credits. I ended up having to buy more AI credits for this project after there we a few shots that needed more generations than expected due to some hallucinations, unnatural car physics, and camera angels that I wanted to adjust.
Premiere Pro + ElevenLabs Voice-Over
I edited the final commercial in Adobe Premiere Pro, sourcing the music from Adobe Stock. The voice-over was created in ElevenLabs using their text-to-speech tool, which allows you to insert voice-direction tags for dynamic inflection. This helped the narration feel more natural and polished. The footage that you see in the final commercial remains mostly untouched by Premiere Pro effects. I did scale some images to adjust the framing in one of the interior shots. Light SFX were added to enhance the intro and the outro of the commercial.
Challenges and Workarounds
I ran into some challenges with Veo’s eight-second maximum clip duration. If a generation includes any imperfections or hallucinations, removing them reduces the usable clip length even further. For a 30-second commercial this is manageable, but for longer content you’d need solutions.
Two helpful workarounds include:
Exporting the last frame of a clip and using it as a reference to generate a new continuation shot.
Using Flow’s Extend feature, which generates a new segment based on the last frames and a fresh prompt.
Both methods cost additional credits, but they help maintain continuity across scenes.
A few shots had to be removed entirely when prompts consistently failed. One example: I wanted a bird’s-eye view of the car crossing a concrete bridge. Despite matching the reference photo and explicitly telling the AI which lane the car should drive in, Veo repeatedly placed the vehicle in the wrong lane. After several failed attempts, I scrapped the shot to conserve credits and moved on.
Final Thoughts and What’s Next
Overall, I didn’t encounter many AI hallucinations while using Veo, and the ones I found were easy to fix using extension techniques. The entire project took me roughly 24 hours end to end—about 4 hours writing the script, storyboarding, photographing the neighborhood, and preparing reference images; 10 hours in Flow and Whisk generating scenes and clips, developing the car as a subject; and another 10 hours editing, creating the voice-over, selecting and syncing music, and exporting the final commercial.
In terms of photorealism, I’ve learned that many imperfections in AI-generated environments are hidden in the motion. There’s a subtle “AI smudgy” look in the bushes and trees that breaks realism when viewed closely. I believe more processing power—and more refined models—will be needed to handle fine natural textures. The car itself renders almost too perfectly, giving it that polished AI look. For future projects, I want to experiment with introducing real-world imperfections with reference images like dust or dirt to bring the vehicle closer to a practical-camera feel. I’ll also need to pay closer attention to the finer details of the subject in my reference shots—for instance, the Mazda grille pattern didn’t fully translate, resulting in a slightly smudged, less accurate texture.
I’m impressed with how well Veo handles lighting and reflections—especially the way environmental light passes through the trees and how lens flares align with the sun’s position in each shot. The photorealism holds up much better on smaller screens like phones than on larger displays such as TVs or desktop monitors, where imperfections become more visible.
Another limitation I discovered is Veo’s export quality. Veo generates 720p video, which can then be upscaled to 1080p, but the output is delivered as an MP4 in H.264. This is a delivery codec, not an ideal working codec, which limits flexibility in post-production if you want to add heavier video effects or perform more advanced color grading. As the models and computing power continue to evolve, it would be great to see support for higher-resolution outputs and less-compressed formats, such as .MOV files, to allow for more robust post-production workflows.
I’m also continuing to expand my JSON prompting skills to better understand what works well in Veo and what doesn’t. I’ve been experimenting with sequencing properties in JSON to give each prompt clearer cinematic direction, especially around camera movement, lens types and overall action. This has already started improving consistency across clips and helping the AI better interpret the intended flow of a shot.
For my next project, I want to push photorealism even further and experiment with upscaling Veo’s 1080p output to 4K while applying additional post-camera effects in Adobe.